Our online file submission provides a quick and easy way to preview and approve your jobs prior to printing. The mistakes graphically represented below are the most common errors we see and can be avoided by simple precautions such as using our templates. Avoiding these common mistakes can help to ensure your job is delivered correct and on time!
How You Can Avoid Printing Mistakes
Bleed
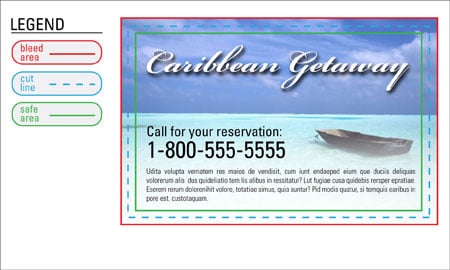
When you want an image to print to the edge of your page you must extend the image 1/8” beyond that edge, this is called bleed. Bleed is required due to variations that can occur in the printing and trimming process. Without bleed white unprinted paper can show at the edges of your page.
Incorrect Setup for Bleed
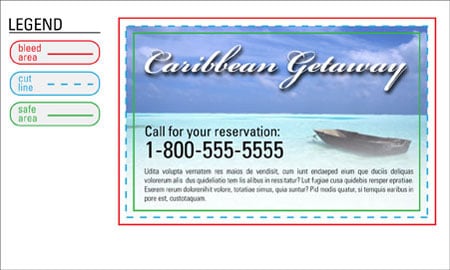
Correct Setup for Bleed
Resolution
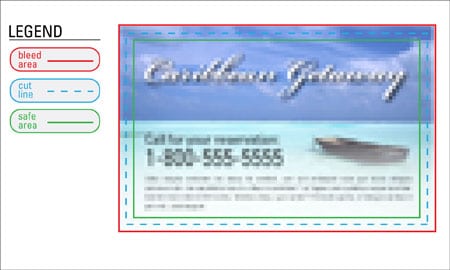
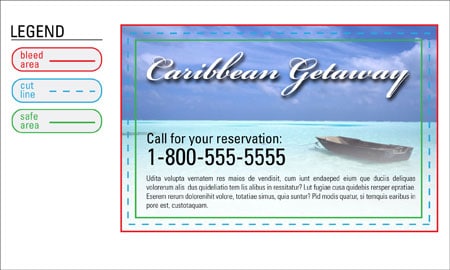
Image resolution should be a minimum of 300 pixels per inch (also incorrectly referred to as dpi on some image sites) at final size for offset printing to maintain detail. Images saved from the web (usually only 72ppi) should be checked to make sure proper resolution is contained otherwise the final printed piece may look blurry or chunky.
Resolution Too Low for Print
Resolution at 300ppi
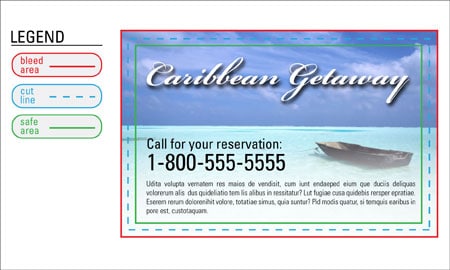
Safe Area
To prevent having type trimmed off a safe area is marked on our templates and in the online preview. The outer 1/8 inch of your page is outside of this safe area and should not contain any type or artwork.
Printed Artwork Outside of Safe Area

Printed Artwork Inside of Safe Area
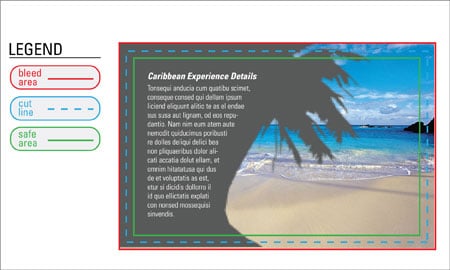
Rich Black
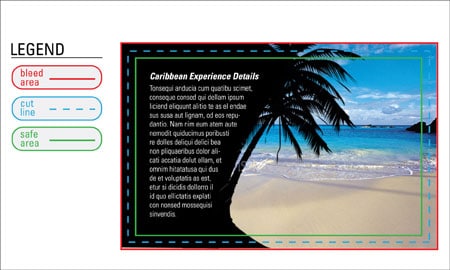
Large black areas should contain what is called a rich black. The area will seem to be a washed out dark gray due to ink coverage issues in the offset printing process if rich black is not used.
C: 60
M: 40
Y: 40
K: 100
Not Using Rich Black
Using Rich Black
Borders
It is suggested to make sure borders remain well within the safe area. Due to the Printing and cutting process any border outside of the printing area may not appear to have a symmetrical distance between the border and page edge.
Border Outside Safe Area

Border Inside Safe Area
