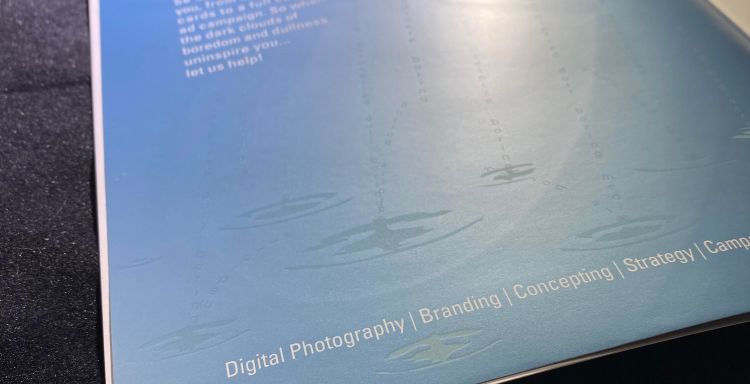
Spot varnishing is a finishing process whereby a transparent varnish is applied over a spot or an area of a printed sheet to serve as protection or produce a glossy finish or color to accentuate that spot. There are a variety of ways to set up spot varnish plates for custom printing. The easiest way is to have your commercial printer do it for you! If you do want to do it yourself here are two easy ways.
First, you can create a spot color layer in your Adobe Photoshop images. This method has its pros and cons, on the pro side you can see the varnish on top of the image and make sure it lines up exactly how you want it. On the con side, the varnish layer will print with your photo when you try and do a proof. I use magenta as my spot color (but “name” it Varnish). In the final proofing stage through our prepress software we can print out a proof with varnish included or a proof with no varnish included, we usually do both. It can cost a bit more but a LOT less than a re-run if your spot varnish is not set up correctly.

You can also set up a different file for the spot varnish. Once you have finished creating your design and it is approved, do a “save as” and add varnish into the name. At this point you can just fill the areas where you want the spot varnish with the spot color “varnish” (that you must create in the swatches palette). If your images are square just delete the content of the image box and fill the box with “varnish” if you have images silhouetted you will have to make a selection of the area in your image file and fill it with the spot color “varnish”.
There are a variety of other ways to pull off a spot varnish color, the main thing to do is to have someone look at your file and make sure you have set it up correctly. This will require spending a few minutes with them and explaining your goals and concept.
Have fun with your set up… and when ready to print, email or call us!


